


Quick Answer: To downgrade macOS, back up your data with Time Machine, erase your Mac in Recovery Mode, then reinstall the older macOS version via a bootable USB installer or Internet Recovery. Keep reading for the complete, method-by-method walkthrough.
In this complete step-by-step guide, you’ll not only learn how to downgrade MacOS but you can also get to know the history of macOS. if you’re facing installation issue, learn how to install macOS 26 (Tahoe) on any Mac
- Why You Might Need to Downgrade macOS
- Before You Downgrade macOS: Essential Preparation
- macOS Downgrade Methods: Which One Is Right for You?
- How to Downgrade macOS Without Losing Data: Key Strategies
- macOS Version Compatibility: What Can Your Mac Run?
- Common Problems and Fixes When Downgrading macOS
- FAQ: How to Downgrade macOS
- Conclusion: Take Back Control of Your Mac
Why You Might Need to Downgrade macOS
You hit Update, and suddenly nothing works.
Your favorite creative app crashes at launch. Your company’s VPN no longer connects. Your M2 MacBook runs hotter than ever. Sound familiar?
Millions of Mac users face this exact problem every year. A macOS update that promises performance gains can quietly break the workflows you depend on. And Apple doesn’t offer a simple “undo” button.
The good news? Downgrading macOS is absolutely possible — if you know the right steps.
This guide covers every method to safely revert your Mac to a previous macOS version — whether you’re rolling back from Sequoia to Sonoma, Sonoma to Ventura, or even further. We’ll cover what to do before you start, which method fits your situation, and how to avoid losing a single file.
Let’s get your Mac back to stable.
Before You Downgrade macOS: Essential Preparation
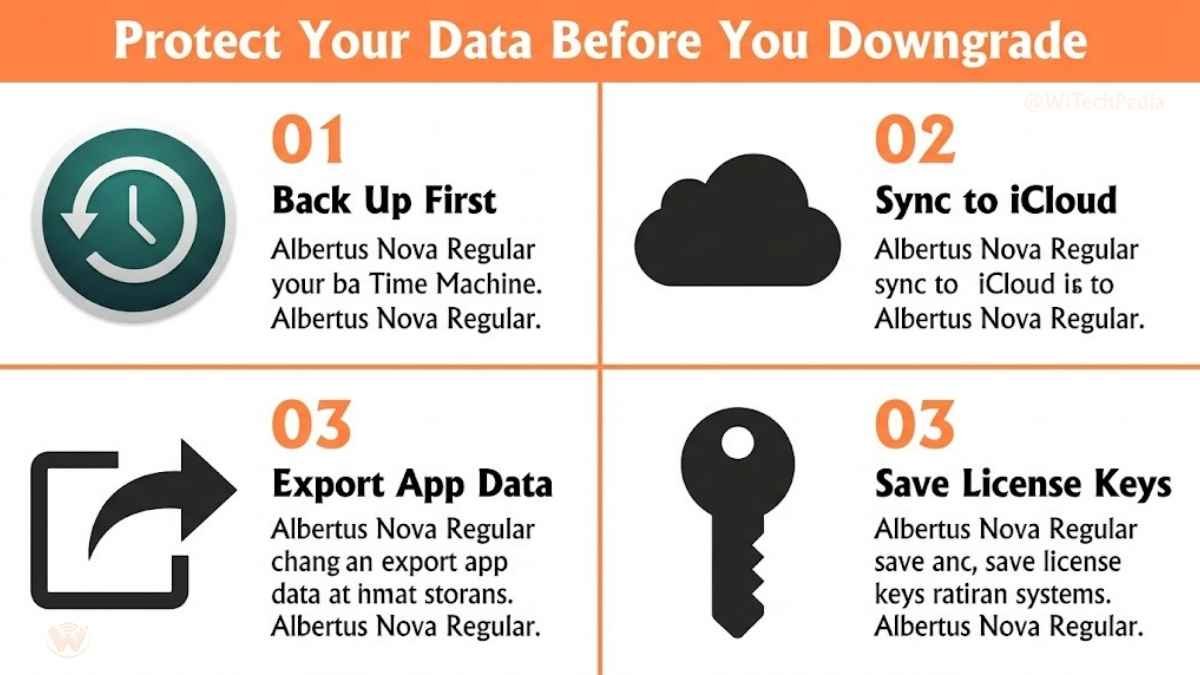
Skipping prep is the #1 mistake people make. Do these four things before you touch a setting.
1. Back Up Everything with Time Machine
This is non-negotiable. Downgrading macOS involves erasing your drive.
You May Also Like

- Connect an external drive.
- Open System Settings → General → Time Machine.
- Select your drive and click Back Up Now.
- Wait until the backup completes — don’t skip this step.
💡 Pro Tip: If you haven’t used Time Machine before, you can also use Carbon Copy Cloner or SuperDuper! for a bootable clone.
2. Check App Compatibility
Some apps only run on newer macOS versions. Before rolling back, verify your critical apps support the older OS.
- Check each app’s website or its Mac App Store page.
- For creative pros: Adobe, Final Cut Pro, and Logic Pro publish system requirements for every version.
3. Note Your Apple ID and Passwords
After a reinstall, you’ll need to re-authenticate iCloud, iMessage, and other services. Write these down or store them in a password manager before you start.
4. Download the Older macOS Installer
You’ll need the installer for the macOS version you’re targeting. We’ll cover exactly how to get it in each method below.
macOS Downgrade Methods: Which One Is Right for You?
Not every downgrade path is the same. Here’s a quick comparison to help you choose:
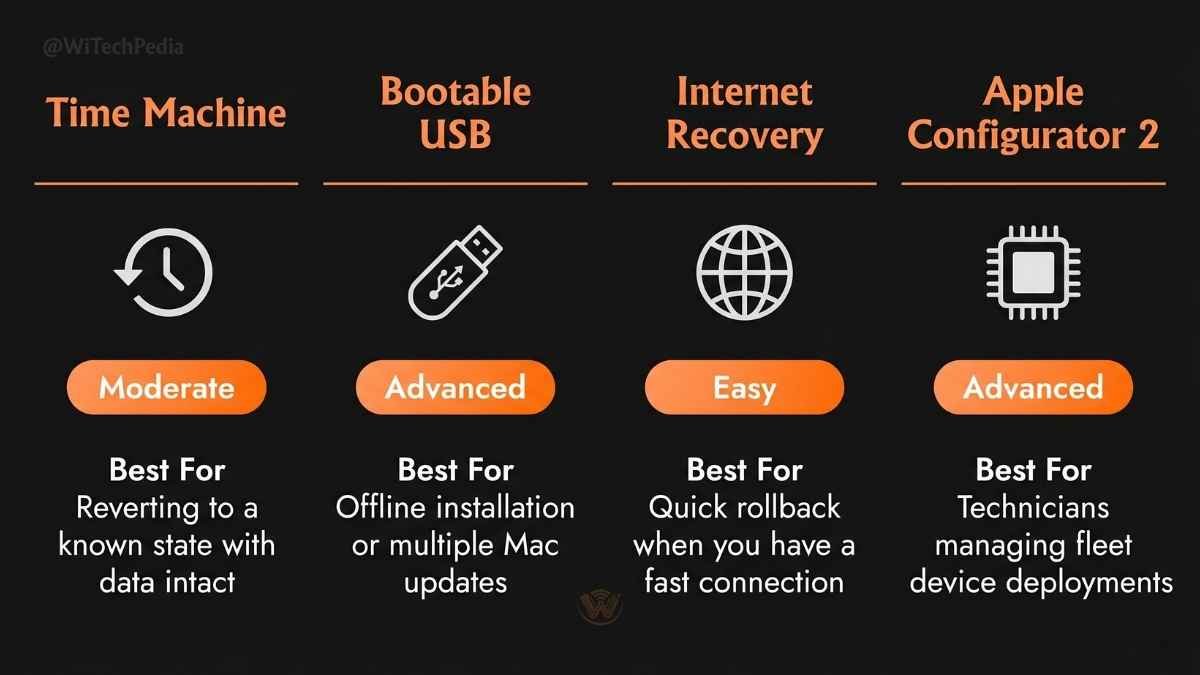
| Method | Best For | Difficulty | Data Loss Risk |
|---|---|---|---|
| Time Machine Restore | Recent backups, quick rollback | ⭐ Easy | Low (restores from backup) |
| Bootable USB Installer | Full clean install, any version | ⭐⭐ Moderate | High (erases drive) |
| Internet Recovery (CMD+R) | No USB, no external drive | ⭐⭐ Moderate | High (erases drive) |
| Apple Configurator 2 | T2/M1/M2 chip Macs, IT pros | ⭐⭐⭐ Advanced | High (erases drive) |
| Restore via Finder (iPhone method) | N/A for Mac — use above | — | — |
Method 1: Restore from a Time Machine Backup (Easiest)
If you have a Time Machine backup made before the macOS update, this is your fastest path to a working older system.
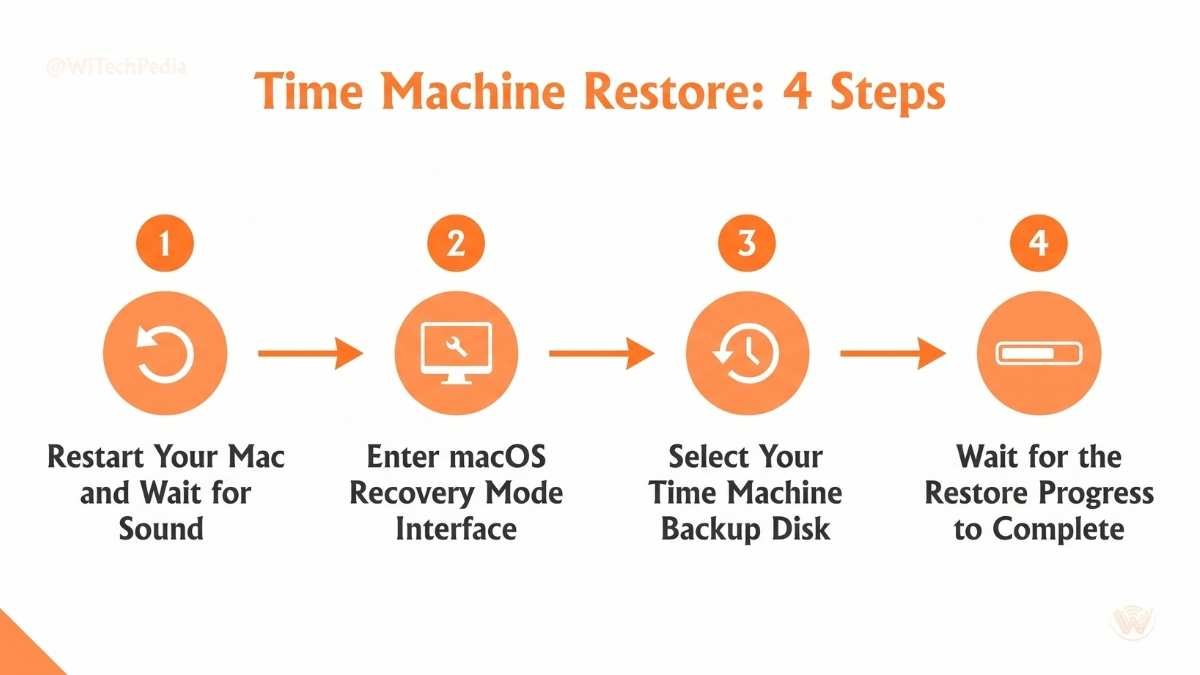
Step-by-Step: Time Machine Downgrade
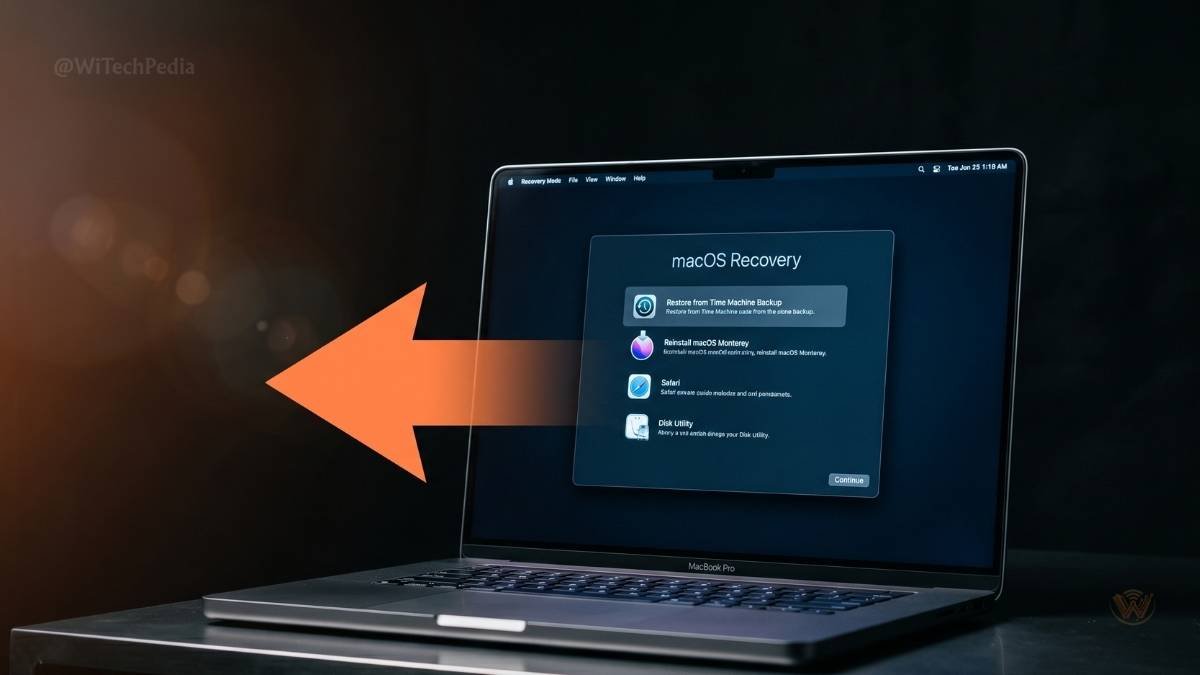
- Restart your Mac and immediately hold Command (⌘) + R to enter Recovery Mode.
- On Apple Silicon Macs (M1/M2/M3/M4): Hold the power button until you see “Loading startup options.”
- In the macOS Utilities window, select Restore from Time Machine Backup.
- Click Continue.
- Select your Time Machine backup drive.
- Choose a backup dated before the macOS update.
- Click Restore and wait (typically 30–90 minutes depending on drive speed).
What you’ll get: Your Mac restored exactly as it was — apps, files, settings, and all — running the older macOS.
⚠️ Important: Any changes made after the backup date will be lost. This is why current backups matter so much.
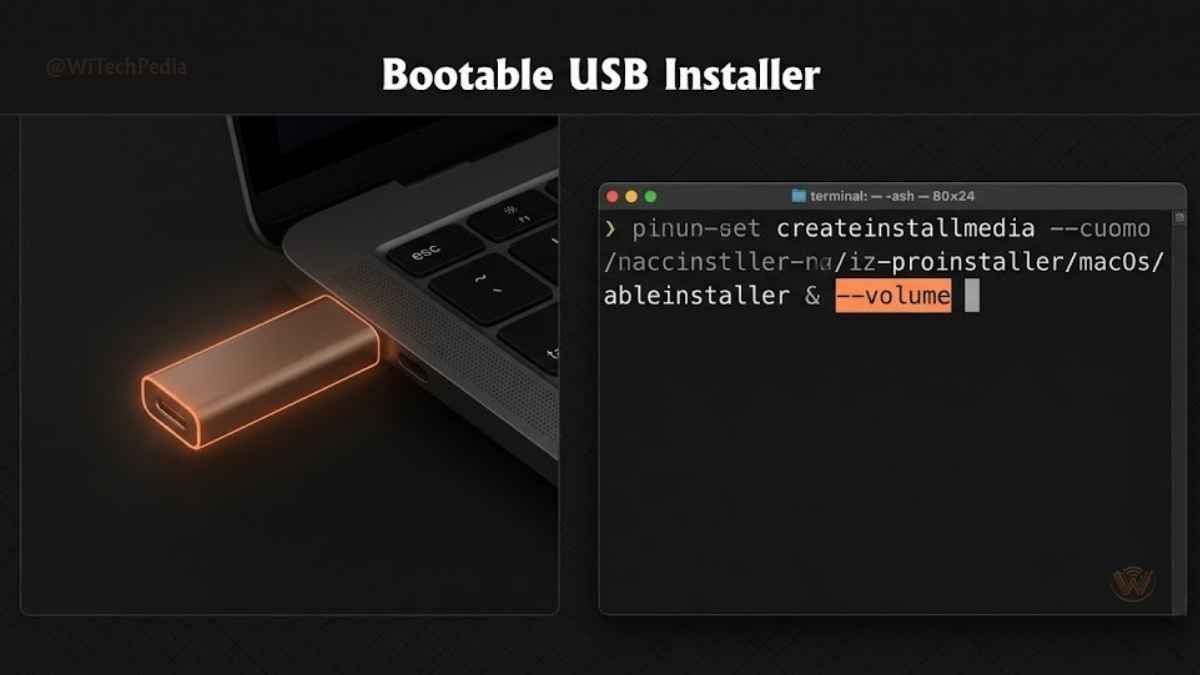
Method 2: Create a Bootable USB Installer (Recommended)
This is the most reliable method for a clean downgrade. It works on every Mac, gives you full control, and lets you keep that USB as a recovery tool forever.
Step 1: Download the macOS Installer
You need the full installer app for your target macOS version.
| macOS Version | Direct Download (Mac App Store) |
|---|---|
| macOS Sequoia 15 | Download |
| macOS Sonoma 14 | Download |
| macOS Ventura 13 | Download |
| macOS Monterey 12 | Download |
| macOS Big Sur 11 | Download |
Note: Apple occasionally restricts older installer downloads. If a link doesn’t work, try Apple’s official macOS download page.
Step 2: Create the Bootable USB
You need a 16GB or larger USB drive (all data on it will be erased).
Open Terminal and run the command for your target version:
macOS Ventura:
bash
sudo /Applications/Install\ macOS\ Ventura.app/Contents/Resources/createinstallmedia --volume /Volumes/MyVolumemacOS Sonoma:
bash
sudo /Applications/Install\ macOS\ Sonoma.app/Contents/Resources/createinstallmedia --volume /Volumes/MyVolumeReplace MyVolume with your USB drive’s actual name (check in Finder → Locations).
Enter your admin password when prompted. The process takes 10–20 minutes.
Step 3: Boot from USB and Erase Your Mac
- Plug in the bootable USB.
- Restart and hold Option (⌥) key immediately.
- Apple Silicon: Hold power button → select the USB drive from startup options.
- Select the USB installer from the boot menu.
- In macOS Utilities, open Disk Utility.
- Select your Macintosh HD (internal drive).
- Click Erase → Format: APFS → click Erase.
Step 4: Install the Older macOS
- Close Disk Utility.
- Select Install macOS [version].
- Follow the prompts and select your internal drive.
- Installation takes 20–45 minutes.
- After restart, set up your Mac fresh or restore from Time Machine.
Method 3: Downgrade via Internet Recovery
No USB drive? No problem — as long as you have a fast internet connection.
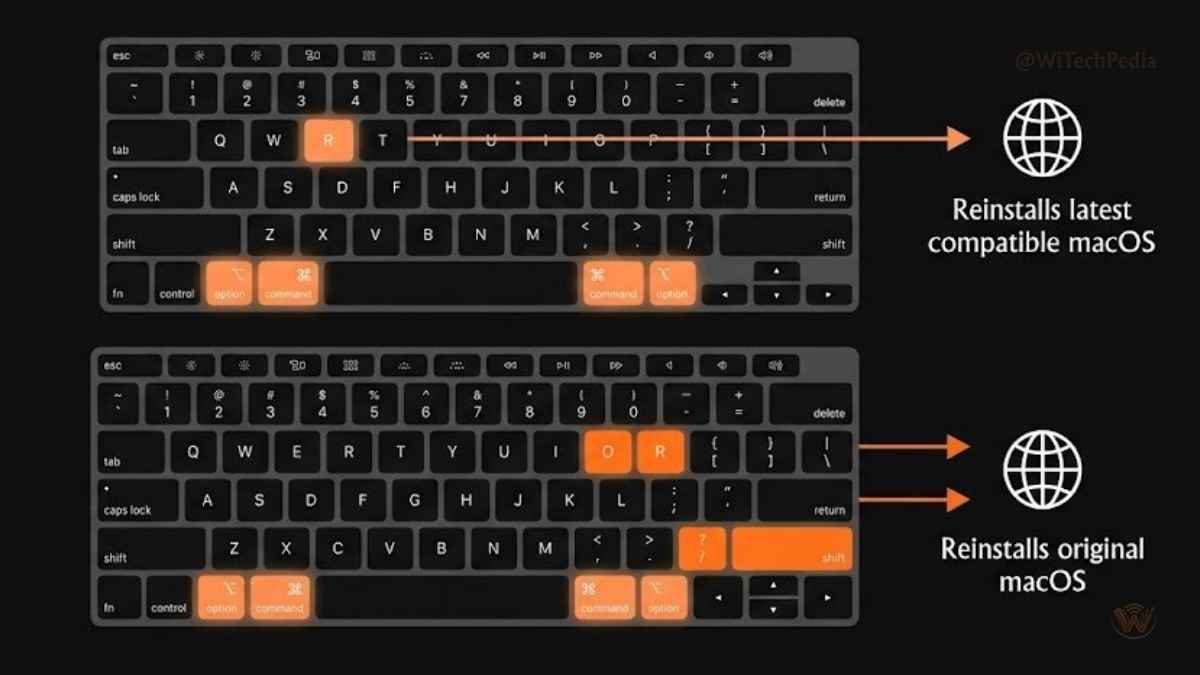
How to Downgrade macOS Without a USB
- Shut down your Mac completely.
- Hold the following key combo and press Power:
- Intel Macs:
Command + Option + Shift + R(reinstalls macOS that came with your Mac) - Intel Macs (alt):
Command + Option + R(installs latest compatible macOS) - Apple Silicon Macs: Hold power button → Options → Recovery.
- Intel Macs:
- Connect to Wi-Fi when prompted.
- In macOS Utilities, use Disk Utility to erase your drive first (same as Method 2, Step 3).
- Select Reinstall macOS and proceed.
⚠️ Limitation: Internet Recovery installs the macOS that originally shipped with your Mac — which may not be the exact version you want. For precise version control, use the bootable USB method.
Method 4: Use Apple Configurator 2 (For M-Series Macs)
Apple Silicon Macs with a damaged system or fully bricked state may need DFU (Device Firmware Update) mode recovery using Apple Configurator 2.
This method is primarily used by IT professionals and requires a second Mac running macOS Monterey or later.
When to Use This Method
- Your Mac won’t boot at all.
- Recovery Mode is inaccessible.
- You need to restore an M1/M2/M3 Mac to a known-good firmware state.
Step-by-Step: Apple Configurator 2 Restore
- Install Apple Configurator 2 from the Mac App Store on the second Mac.
- Connect the bricked Mac to the second Mac using a USB-C cable (specific port required — see Apple’s support article).
- Put the target Mac into DFU mode:
- MacBook (M1/M2/M3): Hold power for 3s, then immediately hold
Right Shift + Left Option + Left Controlfor 10s. Release all keys except power for another 10s.
- MacBook (M1/M2/M3): Hold power for 3s, then immediately hold
- In Apple Configurator 2, the target Mac will appear as “DFU”.
- Right-click the device → Advanced → Revive Device (preserves data) or Restore (erases everything).
- Follow the on-screen prompts to reinstall macOS.
How to Downgrade macOS Without Losing Data: Key Strategies
Data loss is the biggest fear with any macOS downgrade. Here’s how to minimize risk:
Strategy 1: Time Machine First
Always create a current Time Machine backup. Even if the newer macOS broke something, your data is still intact and restorable.
Strategy 2: iCloud Sync Before Wiping
Make sure all your Documents, Desktop, Photos, and important folders are synced to iCloud before erasing your drive. After reinstalling, they’ll sync back down.
Strategy 3: Export App-Specific Data
Some apps store data outside standard locations:
- Mail: Export mailboxes manually via File → Export Mailbox.
- Calendar/Contacts: Export as .ics / .vcf files.
- Creative Apps (Lightroom, etc.): Back up catalogs to an external drive.
Strategy 4: Note Your Software Licenses
After a clean install, you’ll need to re-enter license keys. Use a notes app or a password manager like 1Password or Bitwarden to store them securely beforehand.
macOS Version Compatibility: What Can Your Mac Run?
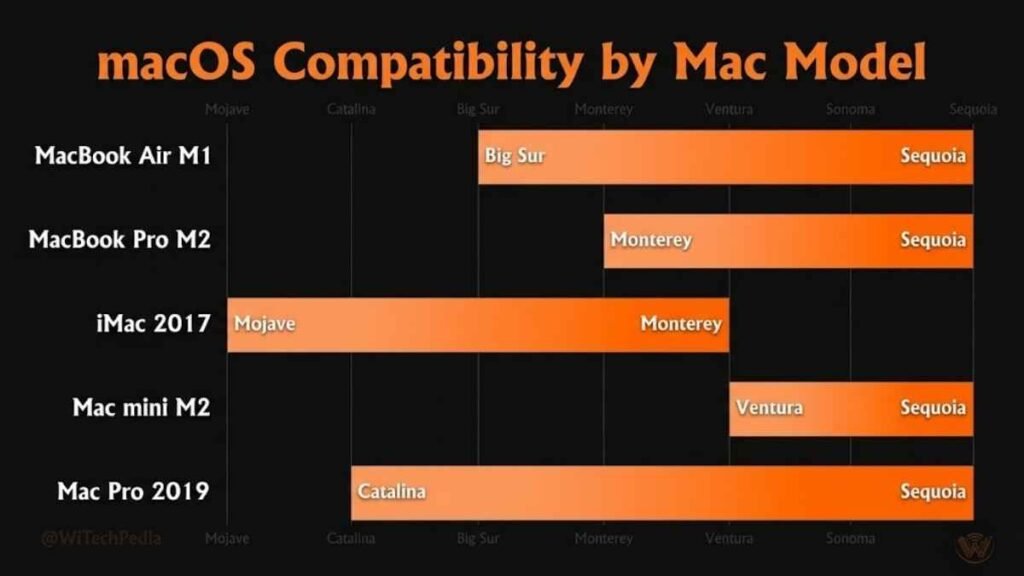
Not every Mac can run every version of macOS. Use this table before targeting a downgrade version:
| Mac Model | Oldest Compatible macOS | Notes |
|---|---|---|
| MacBook Air (M1, 2020) | macOS Big Sur 11 | Native Apple Silicon support begins |
| MacBook Pro (M2, 2022) | macOS Ventura 13 | Ships with Ventura |
| MacBook Pro (Intel, 2019) | macOS Catalina 10.15 | Can run up to Sequoia |
| iMac (2017) | macOS High Sierra 10.13 | Max supported: Ventura |
| Mac mini (M2, 2023) | macOS Ventura 13 | Ships with Ventura |
| Mac Pro (2019) | macOS Catalina 10.15 | Can run up to Sequoia |
Always verify your exact model’s support at Apple’s supported Mac models list.
Common Problems and Fixes When Downgrading macOS
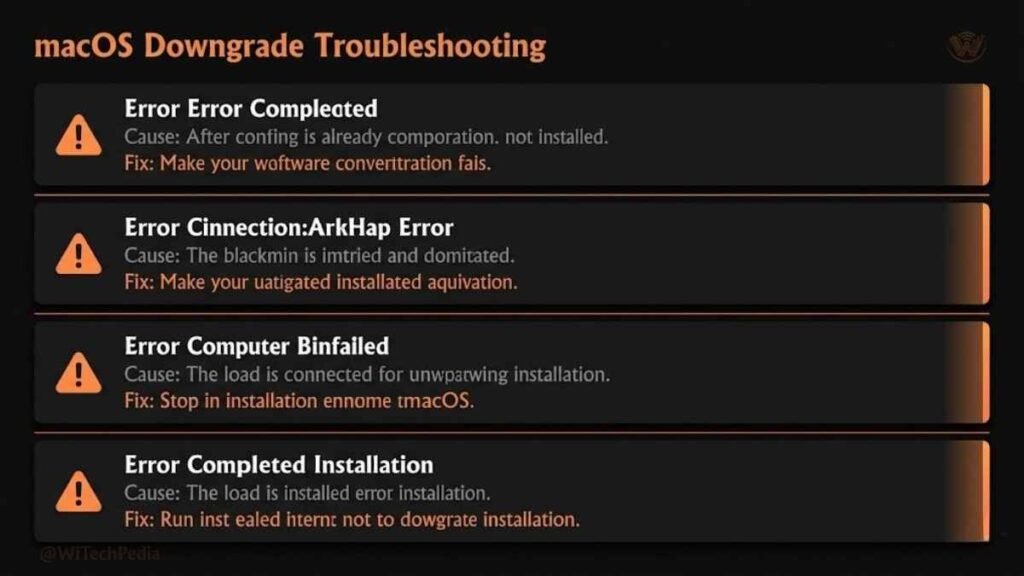
“This version of macOS cannot be installed on this computer”
Cause: The target macOS is too old for your Mac model. Fix: Check Apple’s compatibility table (link above) and choose the oldest supported version.
Mac Won’t Boot After Downgrade
Cause: APFS volume error or incomplete installation. Fix: Re-enter Recovery Mode → Disk Utility → run First Aid on your drive. If it fails, re-erase and reinstall.
Apps Won’t Open After Downgrade
Cause: App was built for a newer macOS API. Fix: Download an older version of the app from the developer’s website or the Mac App Store purchase history.
Time Machine Backup Won’t Restore
Cause: Backup was made on a newer macOS with incompatible file system features. Fix: Use the bootable USB method instead. Manually migrate files after a clean install using Migration Assistant.
FAQ: How to Downgrade macOS
Can I downgrade macOS without losing data?
The safest way to downgrade macOS without losing data is to first create a full Time Machine backup, then restore from that backup after booting into Recovery Mode. This restores your system to its pre-update state, including all files and settings. A clean install (erase and reinstall) will delete your data unless you restore from a backup afterward.
How do I downgrade macOS Sonoma to Ventura?
To downgrade from macOS Sonoma to Ventura: (1) Back up with Time Machine. (2) Download the macOS Ventura installer from the Mac App Store. (3) Create a bootable USB using Terminal. (4) Boot from the USB, erase your Mac in Disk Utility, and install Ventura. (5) Restore your files from the Time Machine backup. The entire process takes approximately 1–2 hours.
Can Apple Silicon Macs (M1/M2/M3) be downgraded?
Yes. Apple Silicon Macs can be downgraded, but the process differs slightly. Enter Recovery Mode by holding the power button (not Command+R). For severely bricked M-series Macs, Apple Configurator 2 in DFU mode is required. Note that M1 Macs cannot run macOS versions older than Big Sur 11.
Is it safe to downgrade macOS?
Yes, downgrading macOS is safe when done correctly. The key steps are: back up your data beforehand, use a genuine Apple macOS installer, erase your drive properly before reinstalling, and restore from a backup. The risk of data loss is high only if you skip the backup step.
How do I get an older macOS installer?
Apple hosts macOS installers in the Mac App Store. You can find links to older versions including Ventura, Monterey, Big Sur, and Catalina directly in the App Store or on Apple’s “How to download macOS” support page. Note: Some older versions may only be available on compatible hardware.
Will downgrading macOS void my Apple warranty?
No. Reinstalling an older macOS does not void your AppleCare warranty. Apple’s warranty covers hardware defects, and software reinstallation is a standard support step that Apple itself recommends. However, unauthorized hardware modifications can affect warranty coverage.
How long does a macOS downgrade take?
The total time depends on your method and internet speed. Creating a bootable USB takes 15–20 minutes. Erasing and reinstalling macOS takes 30–60 minutes. Restoring from a Time Machine backup takes an additional 30–90 minutes. Budget 2–3 hours for the complete process.
Conclusion: Take Back Control of Your Mac
Upgrading macOS should make your computer better — not break it. When it doesn’t, you now have the knowledge to fix it.
Key Takeaways
- Always back up first. Time Machine is your safety net — use it before any major macOS change.
- Choose the right method. Time Machine restore for quick rollbacks; bootable USB for clean, precise control; Apple Configurator 2 for M-series emergencies.
- Check app compatibility before and after downgrading to avoid workflow disruptions.
- Older doesn’t mean inferior. A stable macOS that works flawlessly for your workflow beats a shiny new version that breaks your tools.
- The process is reversible. You can always upgrade again once your apps and workflows catch up.
📬 Stay Ahead of Every macOS Update
Subscribe to the WiTechPedia newsletter for in-depth macOS guides, Apple hardware analysis, and tech tips delivered straight to your inbox — no fluff, just signal.