


Over 96% of the world’s top supercomputers run Linux. It powers the Android phone in your pocket, the servers behind Google and Amazon, and the International Space Station’s mission systems. Yet millions of people have never installed it on their own machine — simply because no one gave them a clear starting point.
That changes today.
- Why Install Linux? The Case Is Stronger Than Ever
- Choosing the Best Linux Distro for Beginners
- What You Need Before You Install Linux
- How to Install Linux: Step-by-Step
- How to Dual Boot Linux with Windows
- Post-Installation: First Steps After You Install Linux
- How to Install Linux on Specific Scenarios
- Common Linux Installation Errors and How to Fix Them
- Frequently Asked Questions
- Conclusion: Your Linux Journey Starts Now
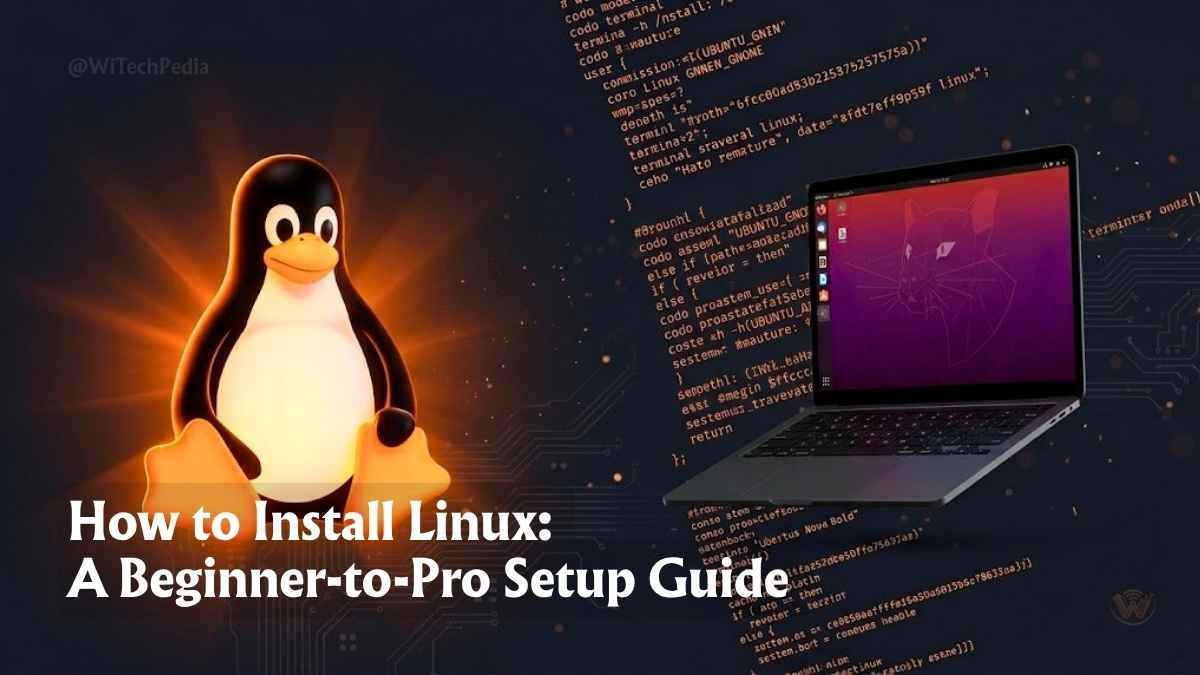
This is your complete guide on how to install Linux — from choosing the right distribution to booting your first desktop session. Whether you want a clean Linux-only install, a dual-boot setup alongside Windows, or a risk-free live USB trial, every path is covered here. No prior Linux experience required.
Why Install Linux? The Case Is Stronger Than Ever
Before diving into the Linux installation guide, it helps to understand what you’re getting. Linux is not one operating system — it’s a kernel around which hundreds of distributions (distros) are built. Each distro is a tailored experience: different desktop environments, package managers, and philosophies.
Here’s what every Linux user gains, regardless of distro:
- Freedom from licensing fees. Linux is open-source. Every major distro — Ubuntu, Fedora, Debian, Mint — costs nothing.
- Security by design. The permission model, frequent patches, and absence of widespread malware targeting make Linux inherently more secure than Windows.
- Performance. Linux runs fast on old hardware that Windows 11 won’t even install on.
- Control. You decide what runs on your machine — no bloatware, no forced updates, no telemetry you didn’t consent to.
- Career value. DevOps, cloud computing, and cybersecurity roles expect Linux fluency. The sooner you start, the faster you advance.
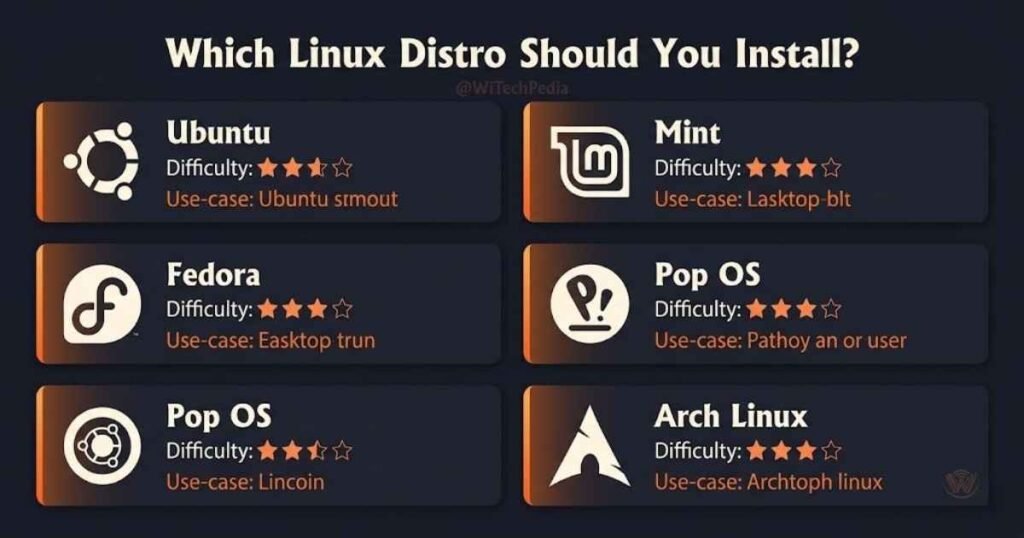
Choosing the Best Linux Distro for Beginners
The biggest fork in the road is picking a distribution. Install the wrong one and you’ll fight the OS instead of using it. Install the right one and you’ll wonder why you waited so long.
Top Linux Distributions Compared
| Distro | Based On | Desktop Environment | Best For | Difficulty |
|---|---|---|---|---|
| Ubuntu 24.04 LTS | Debian | GNOME | Beginners, general use | ⭐ Easy |
| Linux Mint 21 | Ubuntu | Cinnamon | Windows switchers | ⭐ Easy |
| Fedora 40 | Red Hat | GNOME | Developers, cutting-edge software | ⭐⭐ Moderate |
| Zorin OS 17 | Ubuntu | Custom GNOME | Windows/macOS switchers | ⭐ Easy |
| Pop!_OS 22.04 | Ubuntu | COSMIC / GNOME | Gamers, creative professionals | ⭐⭐ Moderate |
| Debian 12 | — | Multiple choices | Servers, power users | ⭐⭐⭐ Advanced |
| Arch Linux | — | DIY | Advanced users who want full control | ⭐⭐⭐⭐ Expert |
| Kali Linux | Debian | XFCE | Penetration testing, cybersecurity | ⭐⭐⭐ Advanced |
Recommendation for most readers: Start with Ubuntu 24.04 LTS or Linux Mint 21. Both have massive communities, excellent hardware support, and a learning curve that doesn’t punish newcomers. Ubuntu’s LTS (Long Term Support) release is supported with security patches for five years — meaning stability you can depend on.
What You Need Before You Install Linux
Don’t skip this section. A five-minute prep prevents a five-hour recovery session.
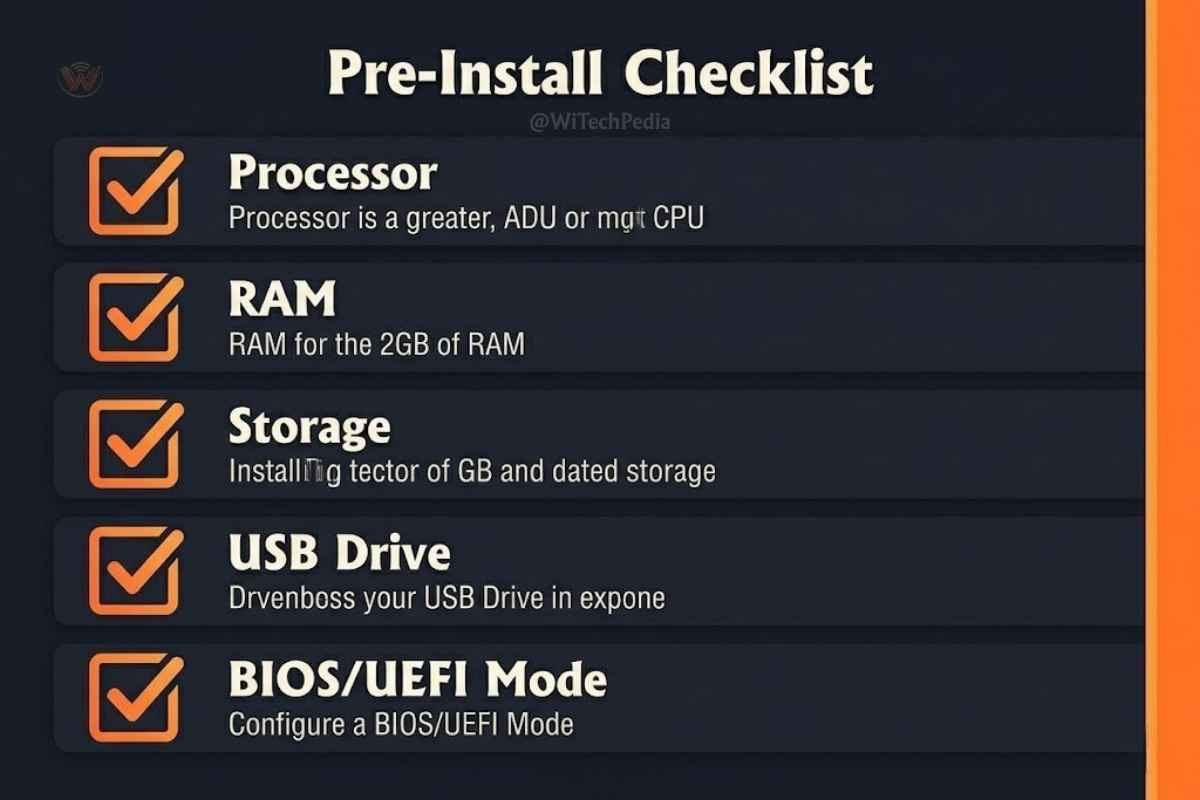
Hardware Requirements (Ubuntu 24.04 LTS as baseline)
- Processor: 2 GHz dual-core or faster
- RAM: 4 GB minimum; 8 GB recommended
- Storage: 25 GB free disk space minimum; 50 GB recommended
- USB Drive: 8 GB or larger (for the bootable installer)
- Internet connection: Recommended during installation for updates and drivers
Software You’ll Need
- The Linux ISO file — download from the official distro website (always verify the SHA256 checksum)
- A USB flashing tool — Balena Etcher (free, cross-platform) or Rufus (Windows-only)
- A backup of your data — non-negotiable before any OS installation
A Note on UEFI vs. Legacy BIOS
Modern computers use UEFI firmware. If your system is newer than 2012, it almost certainly uses UEFI. Most major Linux distros handle UEFI natively, but you may need to disable Secure Boot in your BIOS settings to allow the installer to run. Check your motherboard manual for the key to press at startup (usually F2, F12, Delete, or Esc).
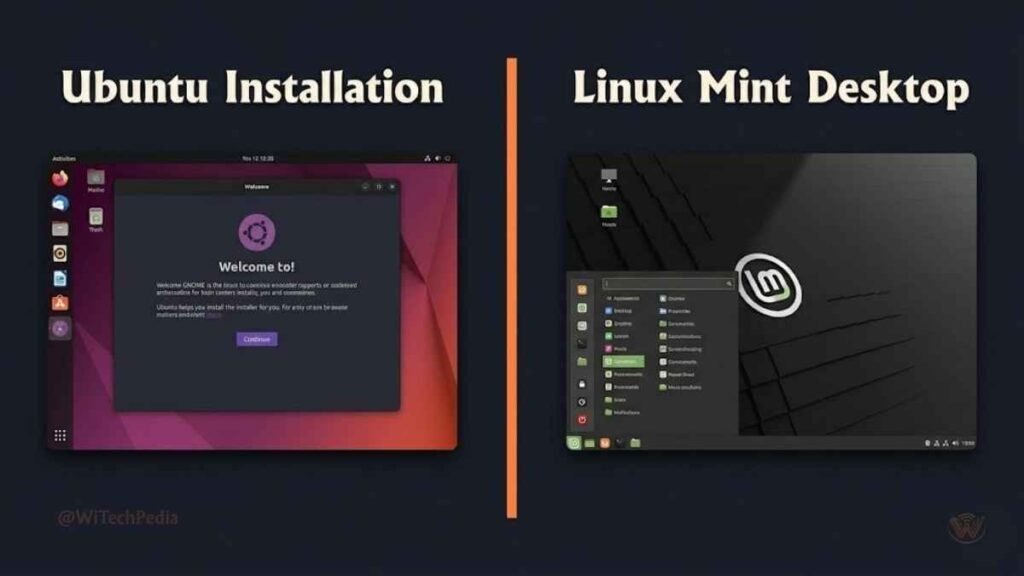
How to Install Linux: Step-by-Step
We’ll use Ubuntu 24.04 LTS as the reference installation. The process is nearly identical for Linux Mint, Zorin OS, and most Debian-based distros.
Step 1: Download the Ubuntu ISO

- Visit ubuntu.com/download/desktop
- Click Download 24.04 LTS
- After downloading, verify the checksum:
On Windows (PowerShell):
powershell
Get-FileHash ubuntu-24.04-desktop-amd64.iso -Algorithm SHA256On macOS/Linux (Terminal):
bash
sha256sum ubuntu-24.04-desktop-amd64.isoCompare the output against the hash listed on Ubuntu’s official download page. If they match, your ISO is legitimate and uncorrupted.
Step 2: Create a Bootable USB Drive
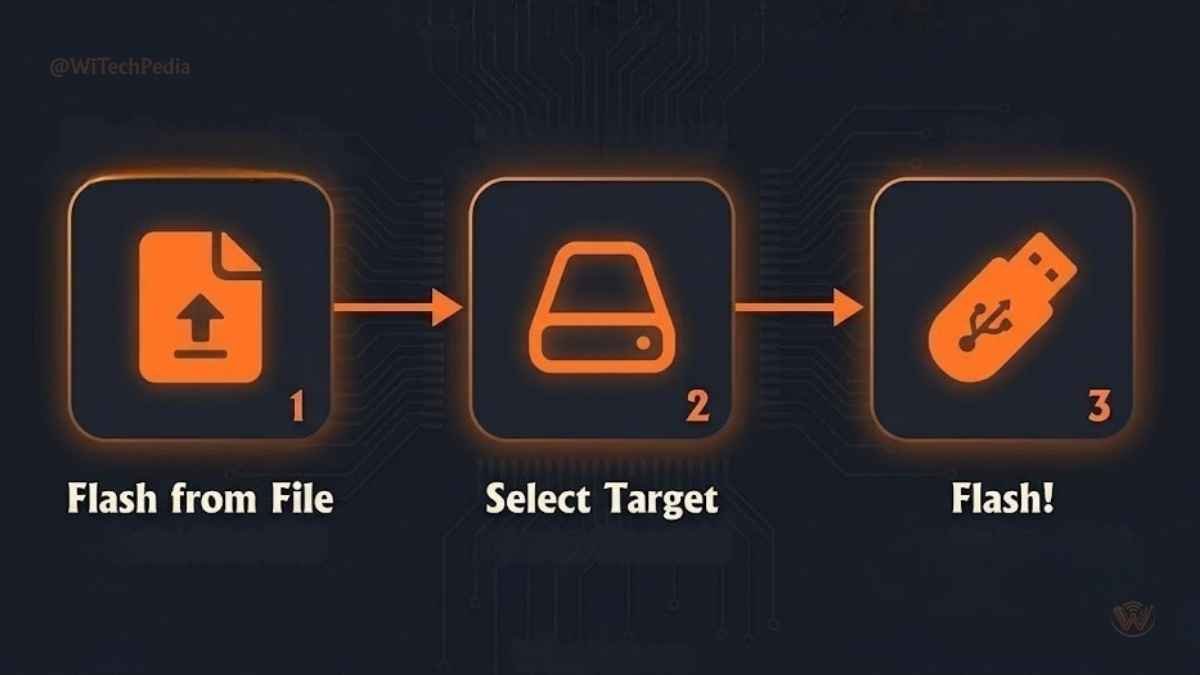
Using Balena Etcher (recommended for beginners):
- Download and install Balena Etcher
- Open Etcher → click Flash from file → select your Ubuntu ISO
- Click Select target → choose your USB drive (double-check — this will erase the drive)
- Click Flash! and wait for the process to complete (usually 5–10 minutes)
Using Rufus (Windows):
- Download Rufus
- Select your USB drive under Device
- Click SELECT and choose your ISO
- Partition scheme: GPT (for UEFI); MBR (for older BIOS systems)
- Click START and choose Write in ISO Image mode
Step 3: Boot from the USB Drive
- Insert the bootable USB into your target computer
- Restart and enter the Boot Menu (key varies: F12, F10, F2, or Esc — shown briefly at startup)
- Select your USB drive from the boot menu
- Ubuntu will load a live session — you can try it before installing
Pro tip: Running the live session first is a smart move. It lets you test Wi-Fi, display resolution, and touchpad behavior before committing to installation.
Step 4: Launch the Ubuntu Installer
From the live desktop, click Install Ubuntu. The installer will walk you through:
- Language selection
- Keyboard layout
- Network connection (connect to Wi-Fi if available)
- Installation type (see the dual boot section below)
- User account setup (name, username, password)
Step 5: Choose Your Installation Type

This is the most critical decision in the entire process.
Option A: Erase disk and install Ubuntu Wipes the entire drive and installs Linux as the sole OS. Choose this if the machine is dedicated to Linux.
Option B: Install Ubuntu alongside Windows (Dual Boot) Keeps Windows intact. The installer creates a partition for Linux. See the dedicated dual boot section below.
Option C: Something else (Manual partitioning) For advanced users who want precise control over partition sizes, filesystems, and mount points.
Step 6: Complete the Installation
- Confirm your choices and click Install Now
- Select your timezone
- Create your user account — choose a strong password; this same password will be used for
sudo(administrative commands) - Wait for the installation to finish (10–20 minutes depending on hardware speed)
- Click Restart Now when prompted
- Remove the USB drive when instructed
- Your system will reboot into Ubuntu
How to Dual Boot Linux with Windows
Dual booting lets you keep Windows and Linux on the same machine — you choose which OS loads at startup. This is ideal for users who need Windows for specific applications (Adobe Creative Suite, gaming via Steam, corporate software) while exploring Linux.
Dual Boot Linux Windows: Pre-Installation Checklist
- Back up all Windows data
- Disable Fast Startup in Windows: Control Panel → Power Options → Choose what the power buttons do → Turn on fast startup (uncheck)
- Disable Secure Boot in UEFI settings (if needed)
- Shrink your Windows partition to create free space for Linux
Shrinking the Windows Partition
- Press Win + X → select Disk Management
- Right-click your main Windows drive (usually C:) → Shrink Volume
- Enter the amount to shrink in MB (50,000 MB = ~50 GB for Linux)
- Click Shrink — this creates unallocated space
Installing Ubuntu Alongside Windows
- Boot from your Ubuntu USB (Steps 1–3 above)
- In the installer, choose Install Ubuntu alongside Windows Boot Manager
- Drag the divider to allocate space between Windows and Ubuntu
- Complete the installation
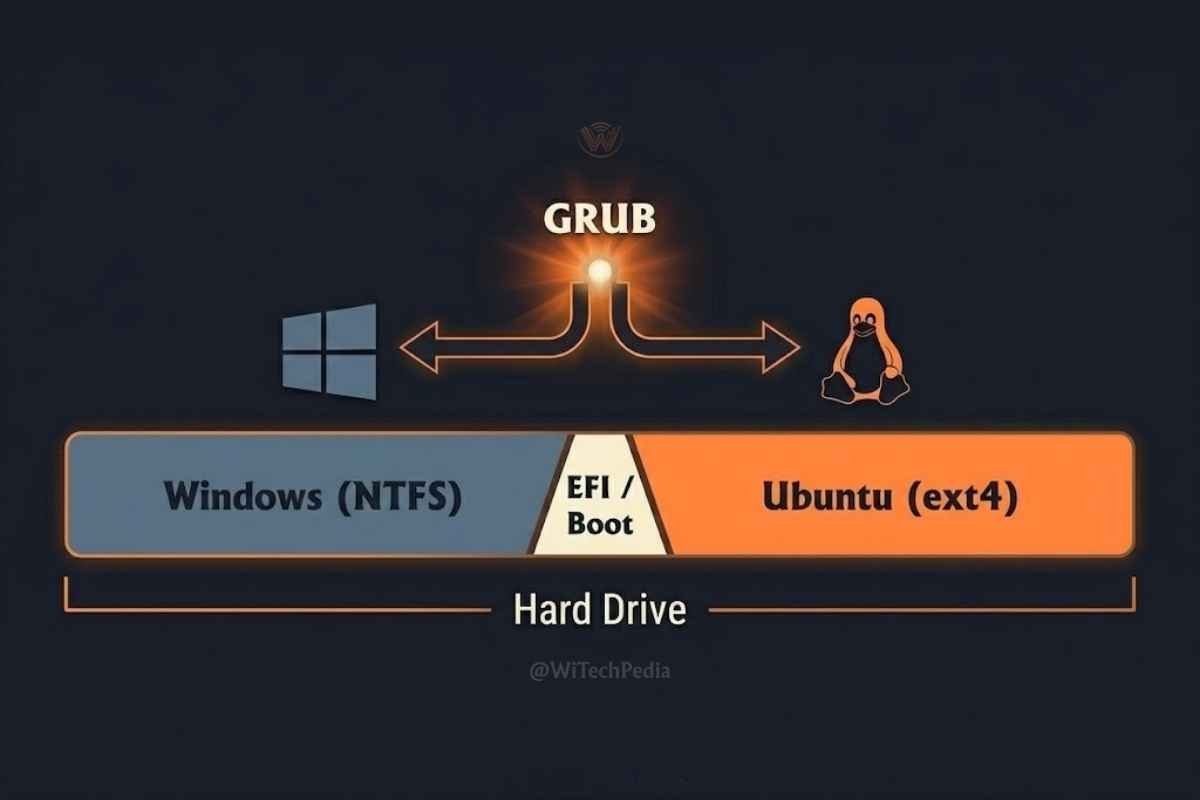
On next boot, GRUB (GNU GRUB bootloader) will appear and let you choose between Windows and Ubuntu every time you start your machine. GRUB can be customized — default OS, timeout duration, and appearance — using tools like grub-customizer.
Post-Installation: First Steps After You Install Linux
The installation is done. Now make your system truly yours.
1. Update Your System Immediately
bash
sudo apt update && sudo apt upgrade -yThis single command fetches and installs all pending security patches and software updates.
2. Install Essential Software
bash
# Media codecs (play MP3, MP4, etc.)
sudo apt install ubuntu-restricted-extras

# VLC media player
sudo apt install vlc

# GIMP (image editing)
sudo apt install gimp

# VS Code (development)
sudo snap install code --classic
3. Set Up the Firewall
bash
sudo ufw enable
sudo ufw status
4. Explore the App Store
Ubuntu’s Software Center (and equivalent tools in other distros) provides a GUI for installing applications without the terminal — useful for beginners who aren’t yet comfortable with package managers.
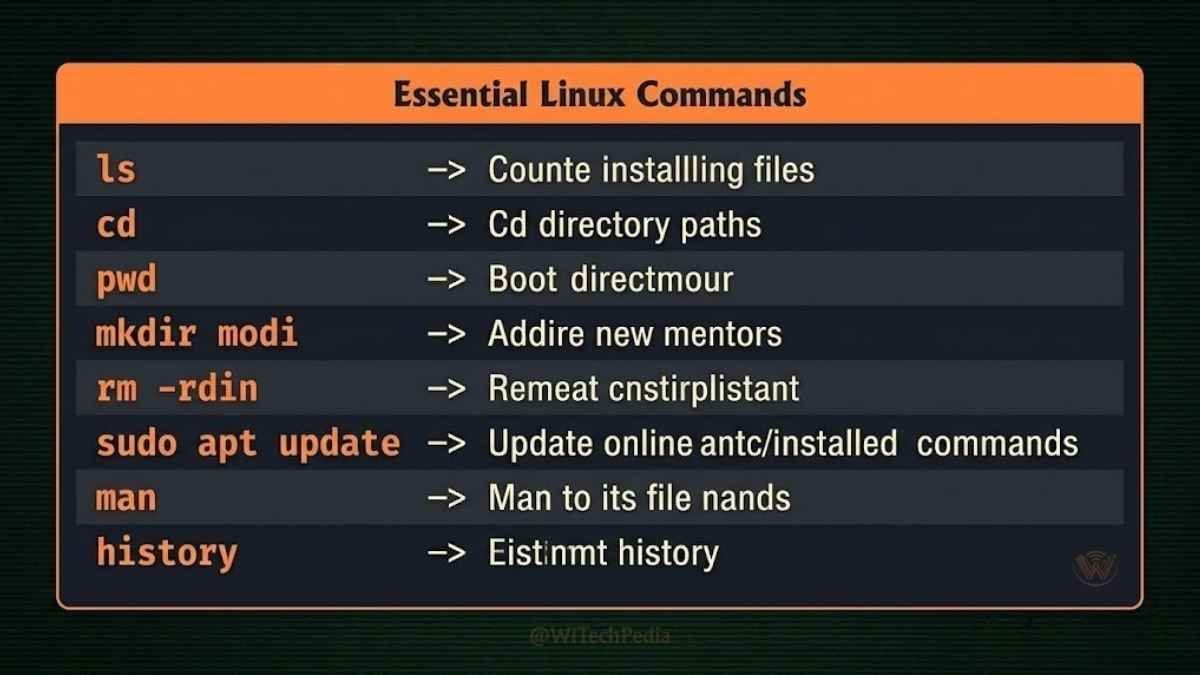
5. Learn the Essential Terminal Commands
Linux fluency starts with the terminal. These commands will carry you far:
| Command | What It Does |
|---|---|
ls | List files and directories |
cd [directory] | Change directory |
pwd | Print current directory |
sudo apt install [package] | Install software |
sudo apt remove [package] | Uninstall software |
man [command] | Open the manual page for any command |
top | Monitor running processes |
df -h | Check disk space |
chmod | Change file permissions |
How to Install Linux on Specific Scenarios
Installing Linux on an Old Laptop
Old hardware shines under Linux. For machines with under 4 GB RAM, consider Lubuntu (LXQt desktop) or Linux Lite — both are purpose-built for lightweight performance. Avoid GNOME-based distros on machines older than 2015.
Installing Linux in a Virtual Machine (No Risk Method)
Not ready to touch your hardware? Install Linux inside a virtual machine using VirtualBox (free) or VMware Workstation Player (free for personal use).
- Download VirtualBox
- Create a new VM → select Linux → Ubuntu (64-bit)
- Allocate 4 GB RAM and 50 GB virtual disk
- Mount your Ubuntu ISO as the optical drive
- Start the VM and install as normal
This is the safest way to learn Linux without any risk to your existing system.
Installing Linux on a Mac (Intel)
Intel Macs support Linux dual boot via the rEFInd boot manager. Apple Silicon (M1/M2/M3) Macs have limited Linux support — Asahi Linux is the leading project working on this.
Common Linux Installation Errors and How to Fix Them
| Error | Cause | Fix |
|---|---|---|
| “No bootable device found” | BIOS not reading USB | Re-flash USB; check boot order in BIOS |
| Black screen after install | GPU driver issue | Boot with nomodeset kernel parameter |
| Secure Boot error | Distro unsigned | Disable Secure Boot in UEFI |
| Wi-Fi not detected | Missing proprietary driver | Use ethernet during install; run ubuntu-drivers autoinstall |
| GRUB not appearing | Windows fast startup interfering | Disable Fast Startup in Windows |
| Installer crashes mid-install | Corrupted ISO or bad USB | Re-download ISO, verify checksum, re-flash |
Frequently Asked Questions
Is it safe to install Linux alongside Windows?
Yes — dual booting Linux with Windows is safe when done correctly. The key precautions are: back up your Windows data before starting, disable Fast Startup in Windows, and let Ubuntu’s installer handle partitioning automatically rather than manually editing partitions unless you’re experienced. Hundreds of millions of machines run dual-boot configurations without issue.
How long does it take to install Linux?
A standard Ubuntu installation takes between 10 and 25 minutes on modern hardware, assuming you’re installing from a USB drive at USB 3.0 speeds. Creating the bootable USB adds another 5–10 minutes. Allow an hour for your first attempt so you can read each screen without rushing.
Can I install Linux on a computer that already has Windows?
Absolutely. This is one of the most common Linux installation scenarios. Ubuntu’s installer includes an “Install alongside Windows” option that automatically handles partitioning. You’ll continue to use Windows normally — Linux simply becomes a second option at startup via the GRUB bootloader.
What is the easiest Linux distro to install for beginners?
Ubuntu 24.04 LTS and Linux Mint 21 consistently rank as the most beginner-friendly options. Both offer graphical installers with clear prompts, excellent hardware support out of the box, massive community forums, and extensive documentation in plain English. Linux Mint’s Cinnamon desktop is particularly familiar to Windows switchers.
Do I need to use the terminal to install Linux?
No. Every major beginner-friendly distro — Ubuntu, Mint, Fedora, Zorin OS — ships with a graphical installer that requires no command-line knowledge. The terminal becomes necessary (and genuinely powerful) after installation for software management, scripting, and system configuration, but the install itself is entirely point-and-click.
Can Linux run Windows programs?
Not natively — but there are excellent solutions. Wine is an open-source compatibility layer that runs many Windows applications on Linux. Bottles provides a polished GUI for Wine. For gaming, Valve’s Proton (built into Steam on Linux) runs thousands of Windows games with impressive compatibility. For essential Windows apps, a dual-boot setup remains the cleanest option.
What happens to my files if I choose “Erase disk and install”?
Everything on that disk will be permanently deleted. This option installs Linux as the only operating system and formats the drive completely. Always back up important files to an external drive or cloud storage before selecting this option. If you want to keep Windows, choose “Install alongside Windows” instead.
Conclusion: Your Linux Journey Starts Now
Installing Linux is not the end of the learning curve — it’s the beginning of one of the most rewarding journeys in tech. Here are the key takeaways:
- Choose the right distro. Ubuntu 24.04 LTS or Linux Mint 21 for beginners; Fedora for developers; Pop!_OS for gamers.
- Prepare before you install. Back up your data, verify the ISO checksum, and disable Fast Startup if dual-booting.
- Dual booting is safe and reversible. You don’t have to abandon Windows — run both.
- The terminal is your superpower. Don’t fear it. Start with
sudo apt update,ls, andcd. Go from there. - The Linux community is massive and welcoming. Ask Ubuntu, the Linux subreddit, and your distro’s official forums are full of people who were beginners once too.
Linux is no longer a hacker’s curiosity — it’s a professional-grade OS that millions of developers, engineers, and creators use every day. The barrier to entry has never been lower.